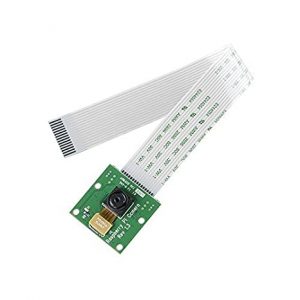
The ESP32-CAM is a development board with an ESP32-S chip, an OV2640 camera, microSD card slot and several GPIOs to connect peripherals. In this guide, we’ll take a look at the ESP32-CAM GPIOs and how to use them.

This Borad is useful for the projects or the products where realtime servillance required. This board having 2.4GHz and 5GHz WiFi so that it will connect to the LAN network. IoT based projects also can build by using this module
Click here to download datasheet
How to Program / Upload Code to ESP32-CAM AI-Thinker (Arduino IDE)

The ESP32-CAM AI-Thinker module is an ESP32 development board with an OV2640 camera, microSD card support, on-board flash lamp and several GPIOs to connect peripherals. However, it doesn’t have a built-in programmer. You need an FTDI programmer to connect it to your computer and upload code.
Installing the ESP32 Board in Arduino IDE
1 In your Arduino IDE, go to File> Preferences
2. Enter the following into the “Additional Board Manager URLs” field:
https://raw.githubusercontent.com/espressif/arduino-esp32/gh-pages/package_esp32_index.json
Then, click the “OK” button:

3. Open the Boards Manager. Go to Tools > Board > Boards Manager…
4. Search for ESP32 and press install button for the “ESP32 by Espressif Systems“:

After Installation Check if it is installed properly
1. Select your Board in Tools > Board menu (in my case it’s the DOIT ESP32 DEVKIT V1)

Make Connections
| ESP32-CAM | FTDI Programmer |
| GND | GND |
| 5V | VCC (5V) |
| U0R | TX |
| U0T | RX |
| GPIO 0 | GND |
NOTE: You need FTDI driver to detect the COM port CLICK HERE TO DOWNLAOD
Select the blink program for demo to upload in the board
When you start to see some dots on the debugging window, press the ESP32-CAM on-board RST button.

After a few seconds, the code should be successfully uploaded to your board.

